Contents
- 1 Introduction to Making a Barbie Cake
- 2 Essential Tools and Materials for a Barbie Cake
- 3 Planning Your Barbie Cake Design
- 4 Understanding the Basics of Cake Structure
- 5 Preparing the Cake Layers
- 6 Designing the Barbie Cake
- 7 Step-by-Step Guide to Assembling a Barbie Cake
- 8 Decorating the Barbie Cake
- 9 Troubleshooting Common Issues
- 10 Summary and Final Tips for Making a Barbie Cake
- 11 Frequently Asked Questions (FAQs)
Introduction to Making a Barbie Cake
What Is a Barbie Cake?
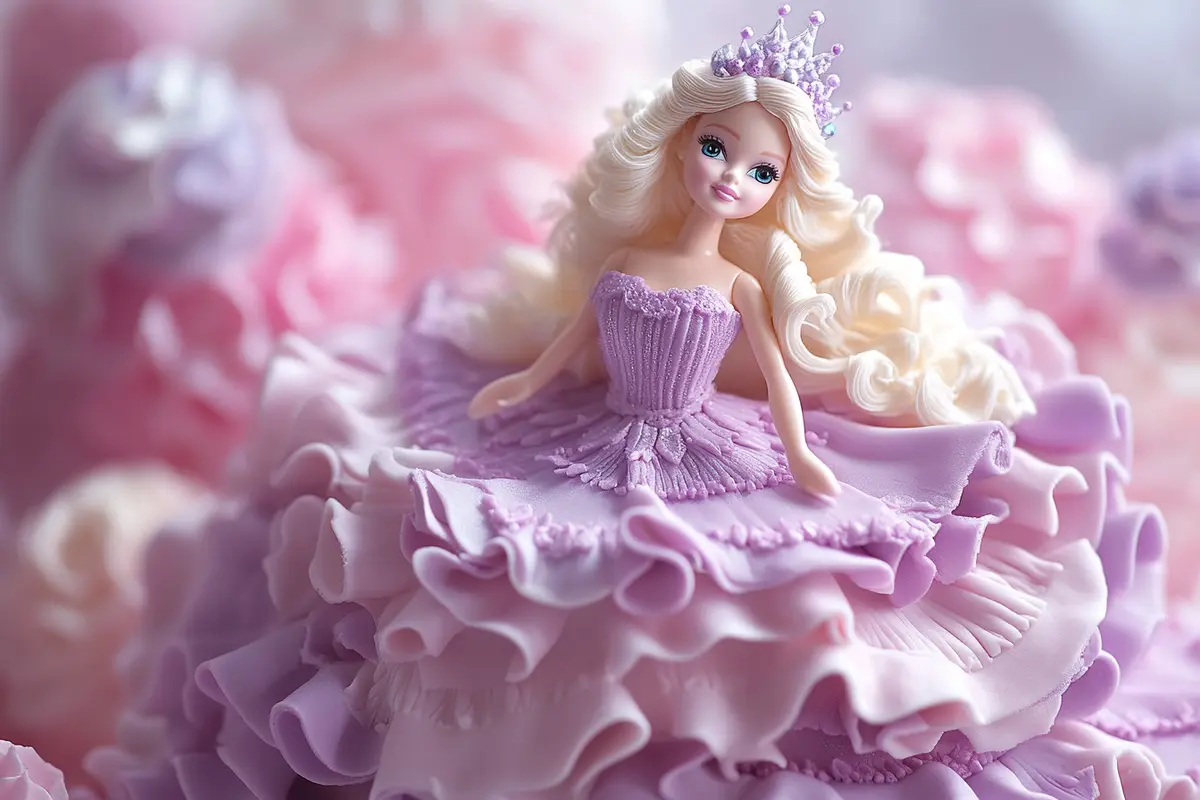
If you’ve ever been to a birthday party with a showstopping dessert, you’ve likely seen a Barbie cake. But what exactly is it? How to make a Barbie cake is a common question among baking enthusiasts. This stunning treat features a layered cake sculpted into a doll’s edible gown, with a real Barbie or any doll of your choice sitting gracefully in the center. Both visually enchanting and nostalgic, Barbie cakes make the perfect centerpiece for birthdays, themed events, or creative baking projects.
Why Barbie Cakes Are Popular for Celebrations
How to make a Barbie cake has been a popular question for decades because these cakes never go out of style! They’re completely customizable, allowing bakers to experiment with endless designs, colors, and themes. Plus, they create an unforgettable surprise at any party by combining a beloved doll with a delicious dessert. Whether it’s a princess-themed birthday bash or a chic bridal shower, a Barbie cake always steals the show.
Essential Tools and Materials for a Barbie Cake
Tools Needed for Shaping and Decorating
To master how to make a Barbie cake, having the right tools is crucial. Here’s a quick checklist:
| tools | Description |
|---|---|
| Cake pans | You’ll need a dome-shaped pan for the skirt and round pans for the layers. |
| Serrated knife | Ideal for trimming and carving the cake layers. |
| Piping bags and tips | Necessary for creating those intricate ruffles and decorative details. |
| Offset spatula | Perfect for spreading frosting smoothly. |
| Cake turntable | This makes decorating easier by allowing you to rotate the cake as you work. |
| Dowel rods or straws | These provide stability, especially for taller cakes. |
Ingredients for the Cake and Decorations
You can’t make a Barbie cake without some key ingredients:
- Cake batter: Choose your favorite flavor—vanilla, chocolate, or even a marbled mix for a surprise inside.
- Buttercream or fondant: Buttercream works well for a soft, creamy texture, while fondant gives a smooth, polished look.
- Food coloring: Gel food coloring is best for vibrant, non-watery hues.
- Edible decorations: Think sprinkles, edible glitter, and sugar pearls.
Choosing the Right Doll for the Cake
A key step in how to make a Barbie cake is choosing the right doll. Ensure it fits the cake’s height, has a removable outfit, and is easy to clean. Before inserting it into the cake, wrap the lower half in plastic wrap for food safety.
Planning Your Barbie Cake Design
Popular Themes and Color Combinations
When planning how to make a Barbie cake, consider these creative themes:
- Princess Cakes: Pink and purple hues with glittering accents.
- Mermaid Themes: Shades of blue, green, and shimmering metallics.
- Seasonal Designs: Snowflakes for winter or florals for spring.
Adjust color palettes based on the occasion—for example, pastels for kids or bold metallics for a more sophisticated theme.
Adjusting Designs for Various Skill Levels
If you’re new to how to make a Barbie cake, start with simple designs like smooth buttercream layers. If you’re more experienced, challenge yourself with fondant flowers, edible lace, or ombre frosting techniques.
Understanding the Basics of Cake Structure
Layering the Cake for Height and Stability
A crucial step in how to make a Barbie cake is stacking layers properly for stability. You’ll typically need three or four round layers. Spread frosting between each layer to enhance flavor and keep them in place. For extra stability, insert a central dowel rod to anchor the cake.
Between the layers, spread an even amount of frosting or filling. Not only does this add flavor, but it also helps the layers adhere to each other. For added stability, use a central dowel rod to anchor the layers together.
Carving Techniques for the Dress Shape
To achieve the perfect gown shape in how to make a Barbie cake, use a serrated knife to carve the layers into a dome. Work gradually, trimming small amounts at a time. If aiming for a ball gown look, carve deeper on the sides while keeping the center high.
For a dramatic ball gown effect, carve deeper on the sides while keeping the center high. If you’re going for a sleek or A-line dress, keep the curve subtler. Regardless of the style, smooth out the surface with a crumb coat to seal in any loose crumbs before moving on to the final decorating stage.
Using Dowels or Support Systems for Balance
Dowels are your secret weapon for keeping a Barbie cake upright, especially if it’s taller than usual. Insert a few dowels evenly spaced into the lower layers for support. For cakes with multiple tiers, consider using a cake board between the top and bottom halves. These small adjustments make a big difference in ensuring the cake doesn’t topple under the weight of decorations.
Preparing the Cake Layers
Baking the Layers for Consistency
For even layers in how to make a Barbie cake, bake with consistent batter measurements and use an oven thermometer for accuracy. Uneven layers can lead to an unstable cake structure.
Cooling and Trimming the Layers for Assembly
Before assembling how to make a Barbie cake, ensure your cake layers are completely cool. Trim the domed tops with a serrated knife for an even surface—this prevents tilting when stacking.
Common Mistakes to Avoid in Baking
Even experienced bakers run into hiccups, but avoiding a few common mistakes can save you a lot of trouble:
- Overmixing the batter: This can make the cake dense and tough.
- Skipping the crumb coat: A crumb coat acts as a base layer for frosting and prevents crumbs from ruining the final finish.
- Rushing the cooling process: Never try to frost a warm cake—it’ll melt the frosting and make decorating impossible.
Designing the Barbie Cake
Choosing Frosting Types: Buttercream vs. Fondant
A key decision in how to make a Barbie cake is choosing between buttercream and fondant:
- Buttercream: Creamy, flavorful, and easy to work with.
- Fondant: Smooth, polished, and ideal for intricate designs.
If you prefer a softer, homemade feel, buttercream is great. If you want a sleek, professional look, go for fondant.
Using Piping Tips for Decorative Details
Piping techniques are essential in how to make a Barbie cake. Use:
- Star tips for ruffles and rosettes.
- Round tips for dots and beading.
- Petal tips for intricate floral patterns.
Incorporating Edible Decorations and Accents
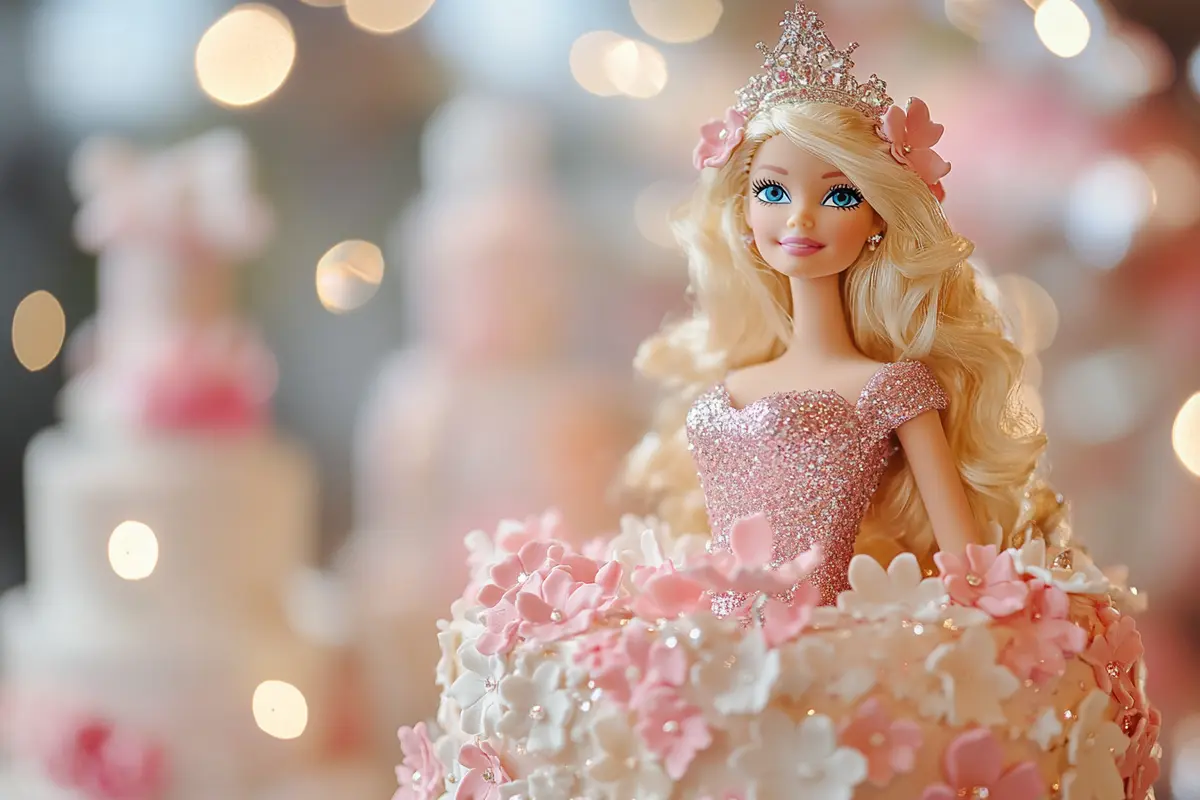
Want to take your Barbie cake to the next level? Edible decorations like sugar flowers, glitter, and candy beads add a touch of elegance. For themed cakes, consider using fondant cutouts or printed edible images to tie in the design. You can even use chocolate molds to create shapes like butterflies or stars.
Adding Color and Texture to the Dress Design
Color is key in creating a show-stopping Barbie cake. Gel food coloring works best for achieving bold, vibrant shades without altering the frosting’s consistency. For texture, try techniques like ombre blending or ruffle layering. Sprinkles and edible glitter can also add an extra sparkle to your design, making the dress look almost magical.
Step-by-Step Guide to Assembling a Barbie Cake
Stacking and Shaping the Cake Layers
To begin assembling how to make a Barbie cake, stack the largest cake layer on a sturdy board. Apply frosting between layers for stability. Once stacked, use a serrated knife to carefully carve the skirt shape.
Placing the Barbie Doll into the Cake Structure
To insert the doll in how to make a Barbie cake, wrap its lower half in plastic wrap. Cut a hole in the center of the cake and place the doll securely inside. If necessary, adjust the cake height or remove the doll’s legs for a proper fit.
Securing the Doll for Stability
For added stability, anchor the doll with dowels or straws inserted vertically into the cake. These will help hold the cake in place, especially during transport. Use extra frosting or fondant around the doll’s waist to blend the transition between the cake and the doll’s body.
Decorating the Barbie Cake
Applying Base Frosting or Fondant Layer
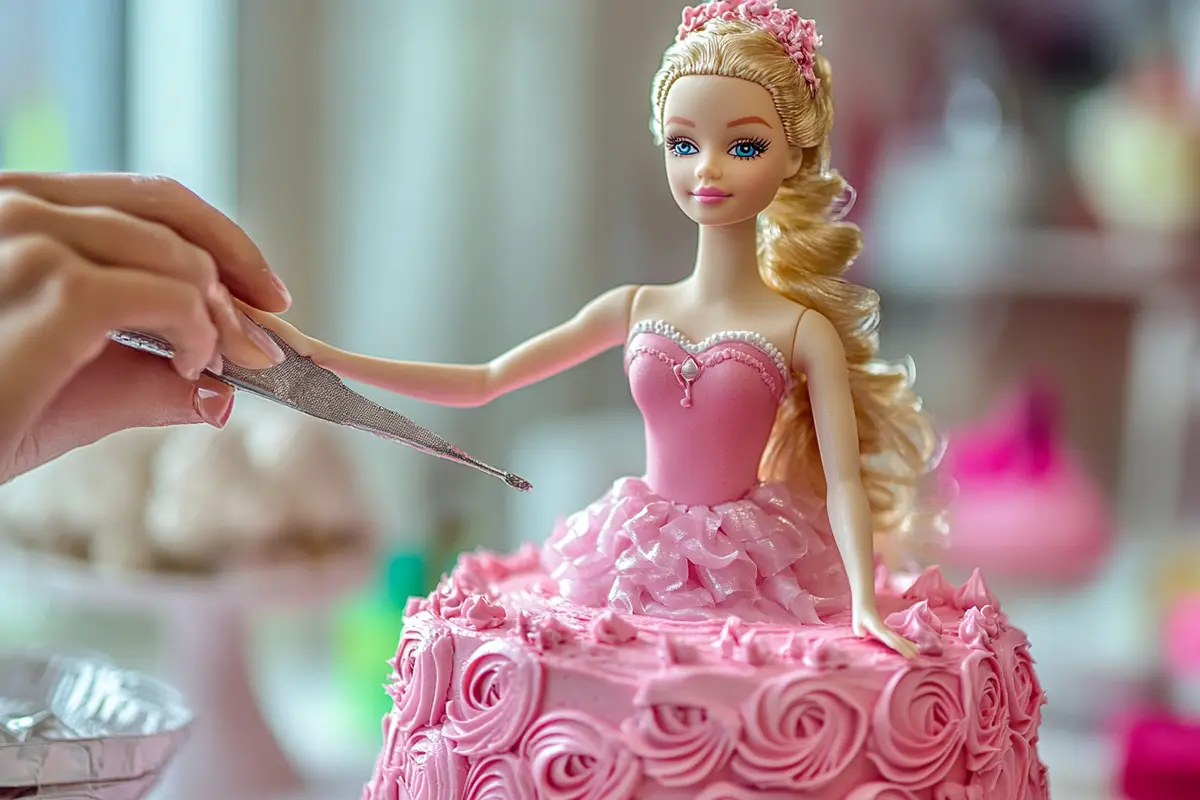
The base layer of frosting or fondant is the canvas for your design. If using buttercream, spread it evenly over the cake with a spatula, smoothing out any bumps. For fondant, roll it out to about 1/8-inch thickness and carefully drape it over the cake. Gently press the fondant into place, smoothing it with your hands or a fondant smoother to eliminate air bubbles. Trim any excess fondant from the bottom edge.
Adding Final Decorative Touches
Now, it’s time to let your creativity shine! Use piping bags with different tips to create ruffles, lace, or floral designs. Add edible glitter or pearl accents for a glamorous touch. For a princess-inspired look, incorporate a tiara or tiny edible jewels.
Tips for Achieving a Professional Finish
- Work in sections: Break down the decorating process into smaller tasks, such as piping details or adding accents.
- Chill your tools: If your frosting becomes too soft, refrigerate your piping bag for a few minutes to firm it up.
- Use a steady hand: When piping intricate details, take your time and practice beforehand on parchment paper.
Troubleshooting Common Issues
Fixing Structural Problems Midway
If the cake starts to tilt or sink, don’t panic! Insert additional dowels for extra support, and refrigerate the cake to firm up the layers. For uneven layers, add more frosting to fill in gaps and smooth the surface.
Addressing Frosting or Fondant Cracks
Cracks in frosting can usually be smoothed out with a warm spatula. For fondant, lightly massage cracks with your fingers or use a small amount of water to blend them out. If all else fails, cover imperfections with edible decorations.
Summary and Final Tips for Making a Barbie Cake
Making a Barbie cake may seem like a big project, but it’s incredibly rewarding when you see the final masterpiece. By taking your time with the structure, design, and decorations, you can create a cake that’s both stunning and delicious. Whether you’re a beginner or a seasoned baker, remember that every cake is a unique work of art—and a little patience goes a long way.
Frequently Asked Questions (FAQs)
Can I Use a Real Barbie Doll in the Cake?
Yes! How to make a Barbie cake includes using a real Barbie doll. Just wrap the lower half in plastic wrap to keep it food-safe. If the doll is too tall, you may need to adjust the cake height or remove its legs.
How to Make a Gluten-Free Barbie Cake?
To make a gluten-free version of how to make a Barbie cake, use a gluten-free cake mix or substitute gluten-free flour in your recipe. Ensure all ingredients, including baking powder and decorations, are gluten-free.
What Is the Best Frosting for a Barbie Cake?
Both buttercream and fondant work well for how to make a Barbie cake. Buttercream is creamy and easy to flavor, while fondant provides a sleek, professional look.
How Long Does It Take to Make a Barbie Cake?
The time needed for how to make a Barbie cake depends on complexity and experience. Beginners should plan 6–8 hours, while more advanced bakers can complete it in 4–5 hours.
Can I Use a Store-Bought Cake Mix for a Barbie Cake?
Absolutely! A store-bought cake mix is a great shortcut in how to make a Barbie cake. Just ensure you bake enough layers for the right height and trim them evenly.


