Contents
- 1 Valentine’s Day Cake Pops – A Sweet Treat for the Occasion
- 2 Key Ingredients and Tools Needed for Valentine’s Cake Pops
- 3 Preparing the Cake Base for Cake Pops
- 4 Shaping and Dipping the Cake Pops
- 5 Decorating Valentine’s Day Cake Pops Creatively
- 6 Best Ways to Present Valentine’s Cake Pops
- 7 Storing Cake Pops for Freshness and Longevity
- 8 Creative Ways to Gift Valentine’s Cake Pops
- 9 Conclusion
- 10 Frequently Asked Questions (FAQs)
Valentine’s Day Cake Pops – A Sweet Treat for the Occasion
When it comes to Valentine’s Day, nothing says “I love you” quite like a homemade sweet treat. Valentine’s Day cake pops are a fun and adorable way to celebrate—they’re bite-sized, easy to decorate, and make the perfect gift. Whether you’re making Valentine’s Day cake pops for a special someone, a classroom treat, or just because these festive little desserts are guaranteed to spread love and sweetness.
Why Cake Pops Are a Popular Choice for Valentine’s Day
So, why are Valentine’s Day cake pops such a hit for this romantic occasion? First off, they’re bite-sized and easy to eat, making them a great alternative to large, messy cakes. Plus, they’re portable, meaning you can wrap them up as gifts or include them in a Valentine’s Day dessert spread.
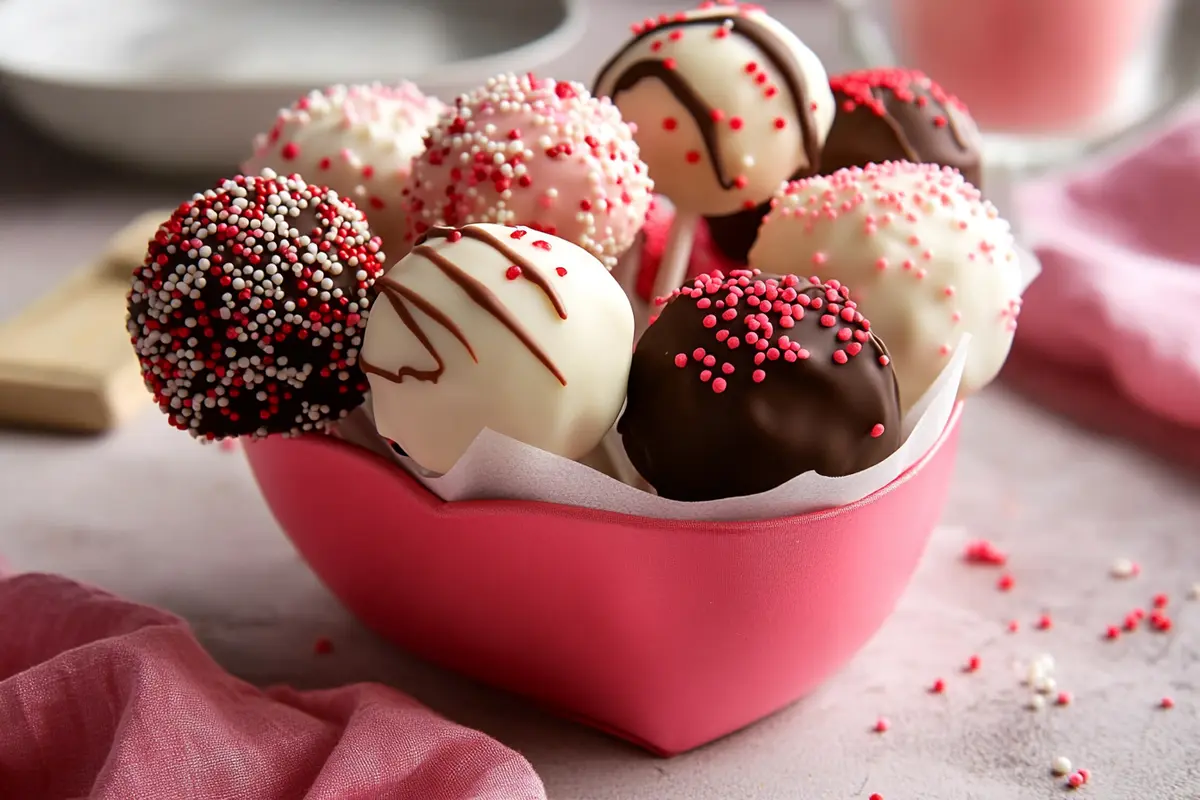
Another big reason? Valentine’s Day cake pops are endlessly customizable. You can dip them in white, milk, or dark chocolate, cover them in sprinkles, drizzle them with red and pink icing, or even shape them into cute hearts. Because they’re served on a stick, they also make for a fun, interactive dessert that’s easy to serve at parties or romantic dinners.
Key Ingredients and Tools Needed for Valentine’s Cake Pops
Before diving into making cake pops, it’s essential to gather all the right ingredients and tools. A little preparation goes a long way in making the process smooth and enjoyable.
Essential Ingredients for Perfect Cake Pops
To make delicious and sturdy cake pops, you’ll need the following ingredients:
- Cake (homemade or store-bought, any flavor you love!)
- Frosting (buttercream, cream cheese, or even ganache)
- Candy melts or chocolate for coating
- Vegetable shortening or coconut oil (helps thin the chocolate for smooth dipping)
- Sprinkles, edible glitter, or drizzles for decoration
- Lollipop sticks or cake pop sticks
Must-Have Tools for Easy Cake Pop-Making
Having the right tools makes the process way easier. Here’s what you’ll need:
- Mixing bowls – For combining cake crumbs and frosting.
- Hand mixer or stand mixer – Helps blend the cake and frosting evenly.
- Cookie scoop or melon baller – Ensures uniform cake pop sizes.
- Baking sheet lined with parchment paper – Keeps your cake pops from sticking.
- Microwave-safe bowls – Ideal for melting chocolate or candy melts.
- Cake pop stand or Styrofoam block – Keeps the cake pops upright while drying.
Choosing the Right Cake and Frosting Combination
The right cake and frosting combo can take your cake pops from good to absolutely amazing. Some of the best pairings for Valentine’s Day include:
| Cake Flavor | Frosting Choice |
|---|---|
| Classic Vanilla | Vanilla Buttercream |
| Chocolate | Cream Cheese Frosting |
| Red Velvet | Cream Cheese Frosting |
| Strawberry | White Chocolate Ganache |
| Funfetti | Marshmallow Frosting |
If you’re feeling adventurous, you can mix flavors—like chocolate cake with raspberry frosting or champagne cake with white chocolate. The key is to use just enough frosting to bind the cake crumbs without making them too wet.
Preparing the Cake Base for Cake Pops
Baking or Using Pre-Made Cake – Which Works Best?
When it comes to making cake pops for Valentine’s Day, you have two main options: baking a fresh cake or using a pre-made one. Both approaches have their pros and cons. Baking from scratch gives you full control over the flavor, texture, and ingredients. However, if you’re short on time, store-bought cake can work just as well. The key is ensuring the cake is moist but not overly dense. Boxed cake mixes are a great option if you want a foolproof method. Meanwhile, homemade cakes allow you to customize the taste to match your preferences.
No matter which route you take, it’s essential to let the cake cool completely before crumbling it. Warm cake can lead to uneven consistency and make shaping difficult. If you’re baking fresh, consider making the cake a day in advance for the best texture.
Crumbling and Mixing for the Perfect Consistency
Once your cake has cooled, the next step is crumbling it into fine pieces. This can be done by hand, but using a food processor ensures an even texture. The finer the crumbs, the smoother your cake pops will be.
Next, mix the crumbs with frosting to bind them together. The trick is to add just enough frosting to hold the mixture together without making it too wet. Start with a few tablespoons and gradually increase as needed. A good consistency is one where the mixture holds its shape when rolled into a ball but doesn’t feel sticky. If the mixture becomes too soft, refrigerate it for a few minutes to firm it up before shaping.
Shaping and Dipping the Cake Pops
Rolling the Perfect Cake Pop Balls
To get evenly sized cake pops, use a cookie scoop or a tablespoon to portion out the mixture. Roll each portion into a smooth ball using your hands. If the mixture starts sticking, lightly grease your palms with a little butter or non-stick spray.
Once all the cake balls are rolled, place them on a baking sheet lined with parchment paper. Chill them in the refrigerator for at least 30 minutes or in the freezer for 10-15 minutes. This step is crucial because it helps the cake pops hold their shape when dipping them in chocolate.
Properly Melting and Coloring the Candy Coating
Melting candy coating or chocolate correctly is essential for achieving a smooth finish. The best way to melt chocolate is using a microwave in short intervals or a double boiler for gentle heating. Stir between each interval to avoid overheating, which can cause the coating to seize up.
For Valentine’s Day, pink, red, and white coatings add a festive touch. If you’re using white chocolate, you can add oil-based food coloring to customize your shades. Avoid water-based food coloring, as it can cause the chocolate to seize.
Troubleshooting Common Cake Pop Coating Issues
Dipping cake pops can sometimes lead to challenges. Here are some common issues and solutions:
- Cake pops falling off the stick: Ensure the cake balls are properly chilled before dipping. Additionally, dip the stick into melted chocolate before inserting it into the cake pop to create a secure bond.
- Chocolate coating too thick: Add a teaspoon of vegetable oil or paramount crystals to thin out the coating for a smoother dip.
- Cracks in the coating: This happens when the cake balls are too cold, and the chocolate is too hot. Let the cake pops sit for a couple of minutes at room temperature before dipping.
Decorating Valentine’s Day Cake Pops Creatively
Using Sprinkles, Drizzles, and Edible Glitter
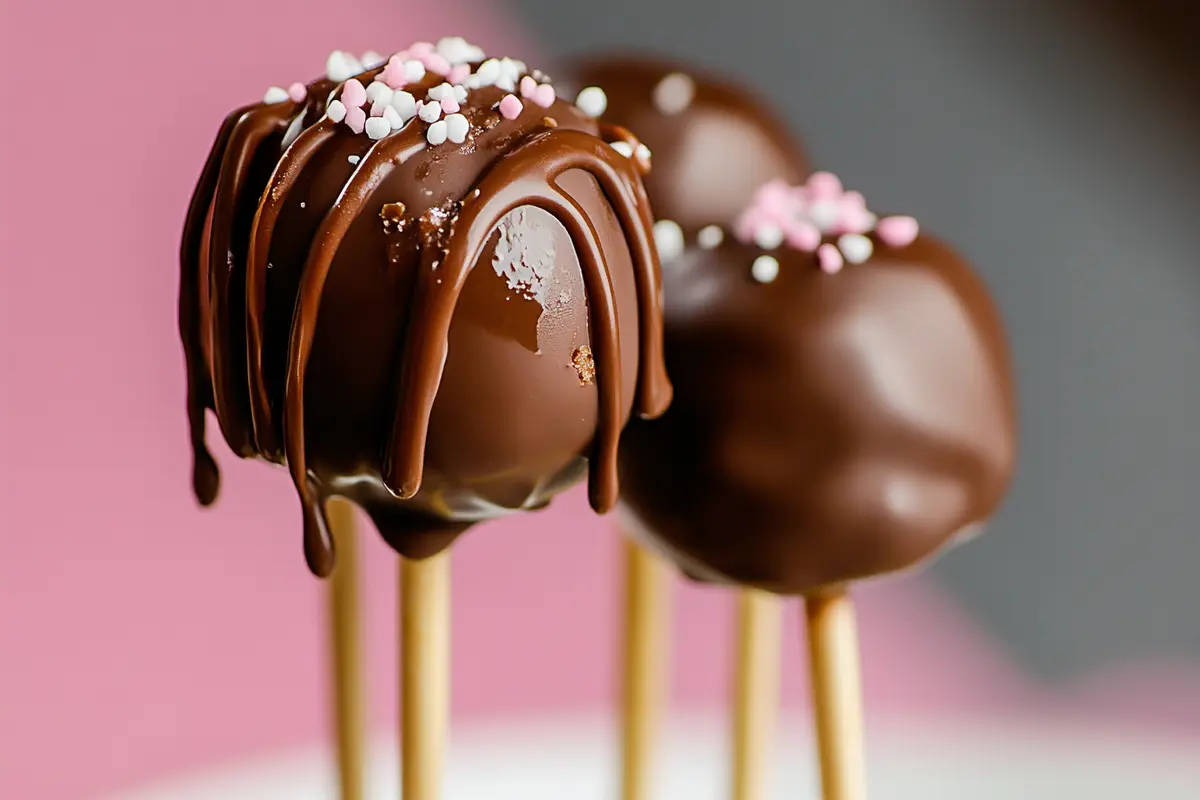
Once your Valentine’s Day cake pops are dipped, it’s time to get creative! Sprinkles, edible glitter, and chocolate drizzles are simple yet effective ways to make them look stunning. Apply decorations while the chocolate is still wet so they stick properly. If you want a glossy finish, consider brushing the set Valentine’s Day cake pops with edible shimmer powder.
Creating Heart-Shaped Cake Pops for a Festive Touch
For a romantic twist, shape your Valentine’s Day cake pops into hearts instead of traditional round balls. To do this, flatten each cake ball slightly and use a heart-shaped cookie cutter to mold them. Gently press the mixture into the cutter, then push it out carefully. Once shaped, follow the same dipping process as with regular Valentine’s Day cake pops.
Personalizing Cake Pops with Letters and Messages
Adding a personal touch makes Valentine’s cake pops even more special. You can write initials, love messages, or even short words like “LOVE” using edible markers or melted chocolate piped through a fine-tipped bag. Letter-shaped sprinkles or fondant cutouts are also great options.
Valentine’s Day cake pops are not only delicious but also a fun way to express love through sweet treats. With these step-by-step instructions, you can create beautifully decorated cake pops that will impress your loved ones. Whether you go for classic round shapes or heart-shaped designs, these bite-sized delights are sure to be a hit!
Best Ways to Present Valentine’s Cake Pops
Cake Pop Bouquets vs. Individual Wrappings
Presentation plays a big role in making your Valentine’s Day cake pops extra special. A cake pop bouquet is a beautiful way to display them, especially as a gift. Arrange the pops in a decorative container filled with foam or candies to keep them upright. If you prefer individual wrappings, use cellophane bags tied with a ribbon for a charming touch.
Using Gift Boxes and Wrapping Ideas for a Special Touch
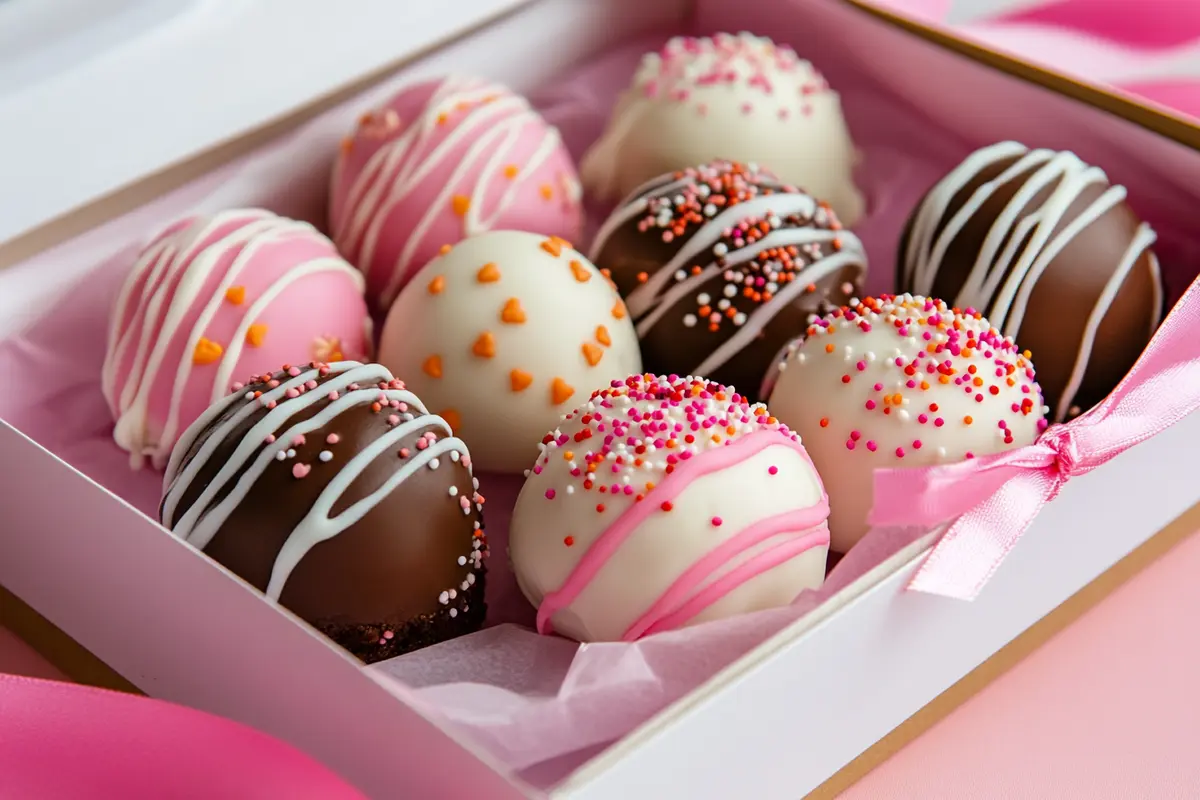
Consider placing your Valentine’s Day cake pops in a gift box with tissue paper for an elegant presentation. This protects them and makes them feel more like a luxury treat. A heart-shaped box adds an extra romantic element to your Valentine’s Day cake pops surprise.
Storing Cake Pops for Freshness and Longevity
Refrigeration vs. Room Temperature Storage
Cake pops can be stored at room temperature for up to two days, provided they are kept in an airtight container. However, if you want them to last longer, refrigeration is a better option. Refrigerated cake pops can stay fresh for up to a week. Just be sure to let them come to room temperature before serving to avoid condensation on the coating.
Freezing Cake Pops for Later Use
If you need to make cake pops in advance, freezing is an excellent option. To freeze, place them in a single layer on a baking sheet until solid, then transfer them to an airtight container or zip-top bag. Frozen cake pops can last for up to three months. Thaw them in the refrigerator before serving to maintain their texture and flavor.
Creative Ways to Gift Valentine’s Cake Pops
Pairing Cake Pops with Other Valentine’s Treats
Enhance your Valentine’s gift by pairing cake pops with other sweets like chocolate-covered strawberries or homemade cookies. This creates a delightful dessert assortment that your loved one will appreciate.
DIY Cake Pop Gift Baskets
For a fun and personalized touch, create a DIY gift basket filled with cake pops, candies, and a heartfelt note. Arrange everything in a festive basket with decorative elements like ribbons and themed napkins for an eye-catching and delicious gift!
Conclusion
Valentine’s Day cake pops are not only delicious but also a fun way to express love through sweet treats. With these step-by-step instructions, you can create beautifully decorated Valentine’s Day cake pops that will impress your loved ones. Whether you go for classic round shapes or heart-shaped designs, these bite-sized delights are sure to be a hit!
Frequently Asked Questions (FAQs)
How Far in Advance Can I Make Cake Pops for Valentine’s Day?
Cake pops can be made up to a week in advance if stored properly in the refrigerator. If you need to prepare them even earlier, freezing is a great option. Just be sure to let them thaw in the fridge before serving to maintain the best texture.
Why Are My Cake Pops Falling Apart?
Cake pops can fall apart if the cake-to-frosting ratio is off. If there’s too much frosting, the mixture becomes too soft. Additionally, chilling the cake balls before dipping and ensuring the sticks are dipped in melted chocolate before inserting can help keep them intact.
What’s the Best Way to Melt Chocolate for Cake Pops?
The best method is to use a microwave in short intervals, stirring between each round. Alternatively, a double boiler ensures smooth and even melting. Adding a small amount of vegetable oil or paramount crystals helps create a silky consistency.
Can I Make Cake Pops Without Candy Coating?
Yes! You can use alternatives like melted chocolate, white chocolate, or even royal icing for coating. If you prefer a more natural approach, try rolling the cake pops in crushed nuts, shredded coconut, or cocoa powder for a unique texture.
How Can I Make Vegan or Gluten-Free Valentine’s Cake Pops?
To make vegan cake pops, use a dairy-free cake recipe and frosting, and opt for a dairy-free chocolate coating. For gluten-free options, use gluten-free flour or a pre-made gluten-free cake mix. Always check ingredient labels to ensure they meet dietary needs.


